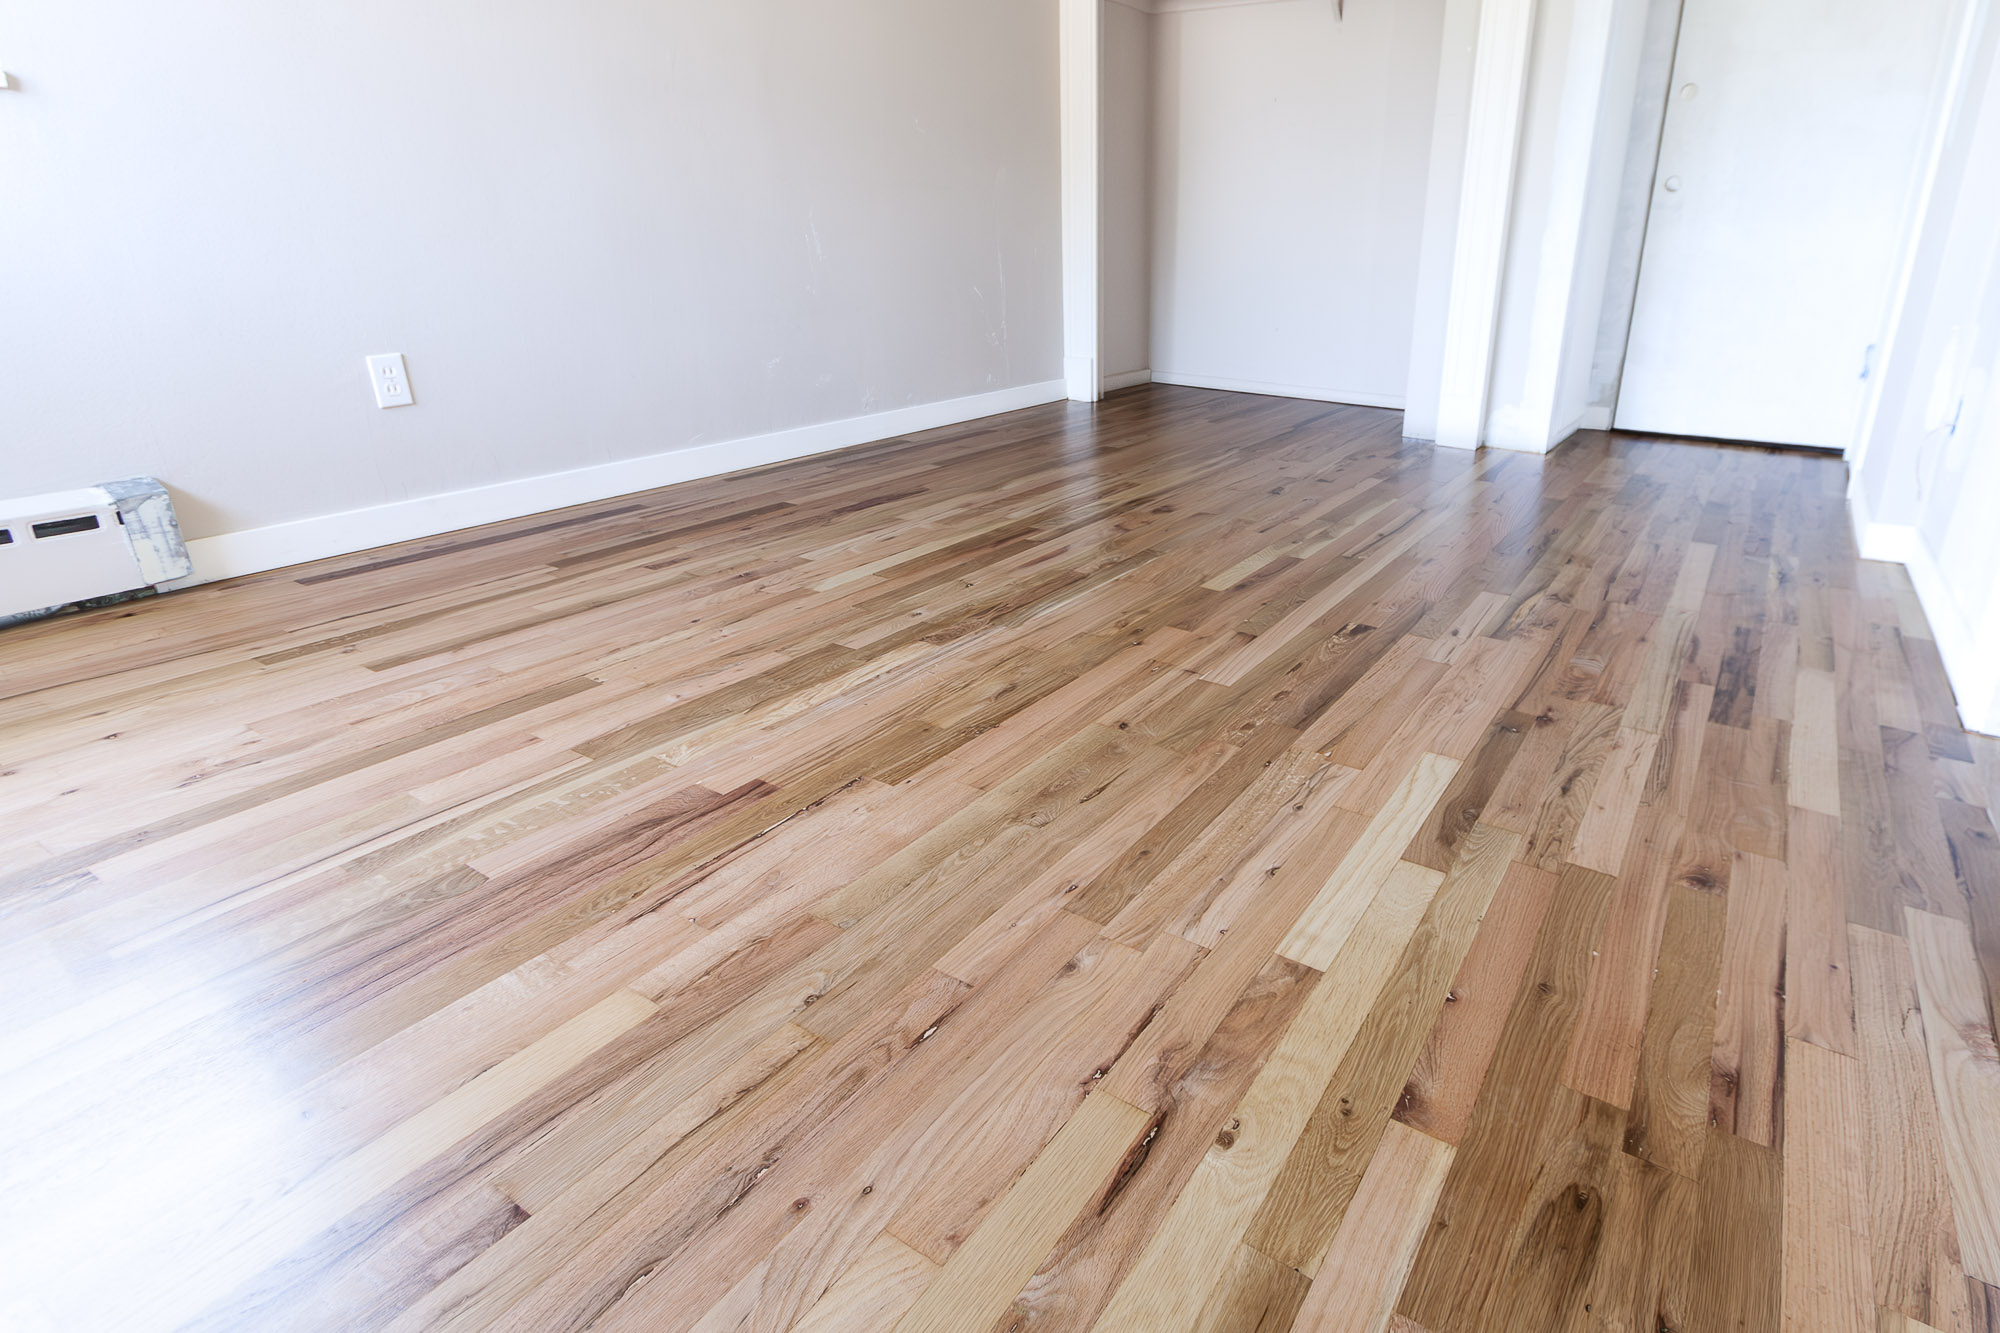
One of my favorite type of jobs is refinishing floors in rental units. They are often poorly maintained, and go for long intervals without being fixed up. This means the condition I find them in is usually pretty bad. The finish is discolored or worn completely through, the floor has moved and opened up gaps from lack of climate control, leaky houseplants or pets have left dark stains in the floor, etc. The owners typically don’t expect much can be done, but just want the floor to look presentable – quickly and at a reasonable cost. This is why the ensuing transformations are so satisfying.

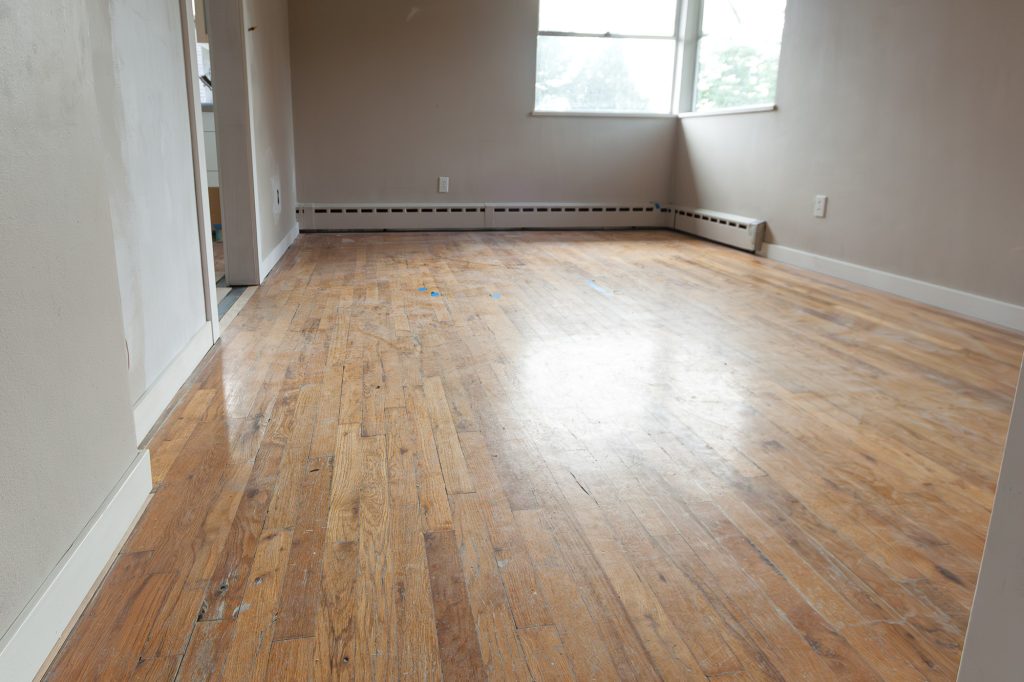
This particular apartment in Wallingford had a red oak floor from the 1950’s, and looked like it had never been refinished. The upshot was that the wear layer (the wood above the tongue and groove) was still close to full thickness, so there was plenty of room to sand through the damage. The finish had discolored to a dirty looking orange-brown that hid the bright character of the individual boards. There were also several boards that were cracked or flaking apart.
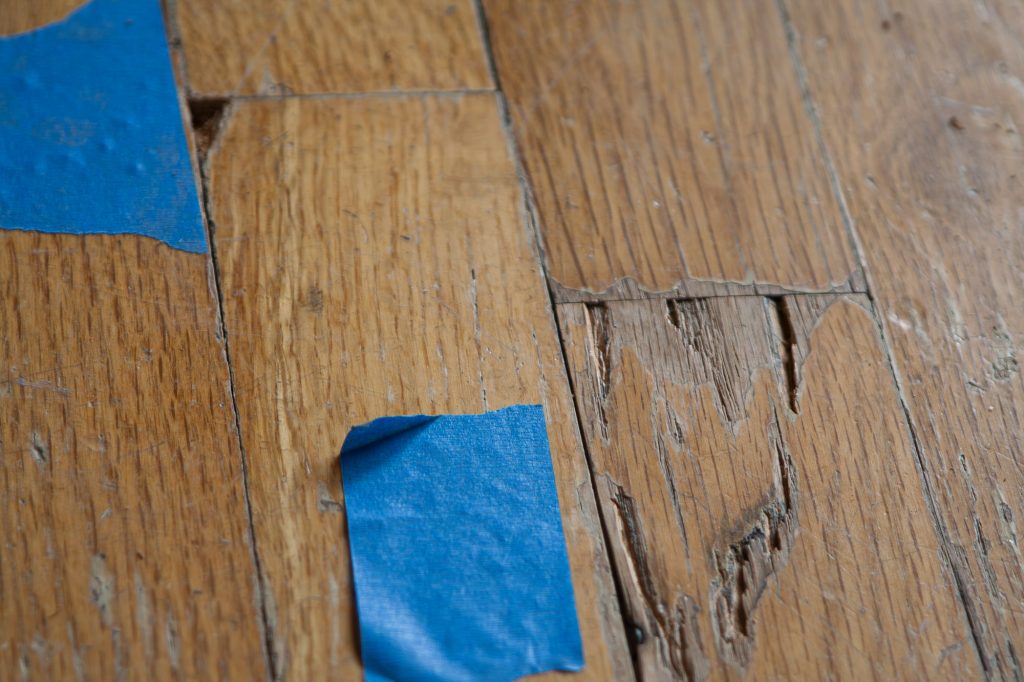
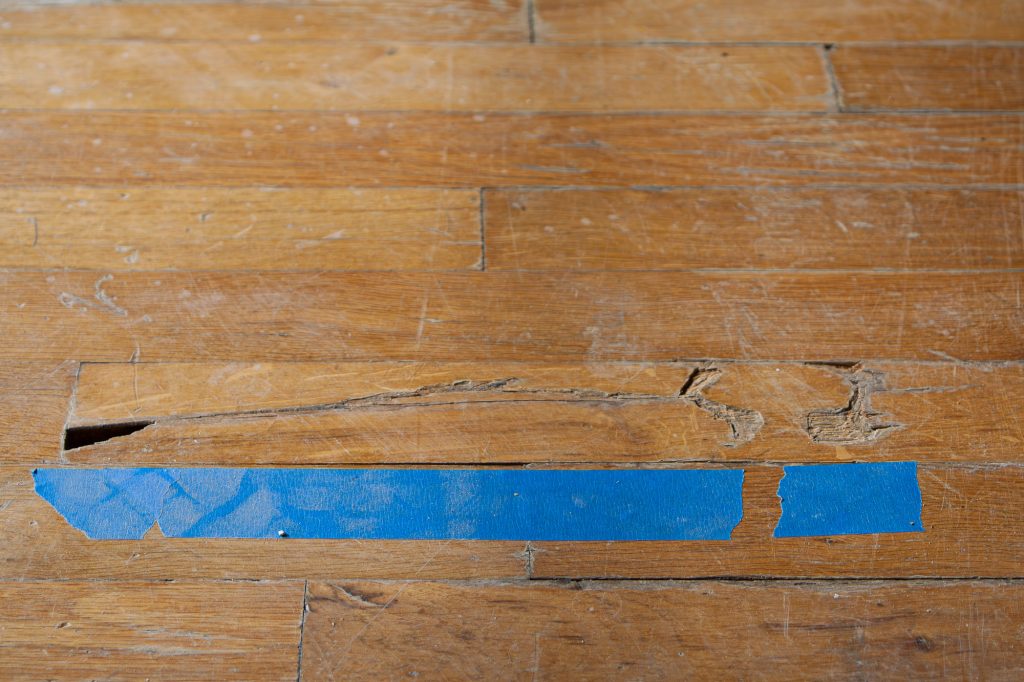
The grade of wood is No. 2 common, one of the lower grades available. It has mineral streaks, small knots, and shorter average lengths. Not inherently bad, but some of the included defects can lead to the type of cracking or flaking seen above, and requires extra diligence to screen out defective boards. Based on the number of these in the floor, and the haphazard positioning of end joints, it’s pretty clear this floor was installed for speed and cost—to a degree that compromised more than just aesthetics.
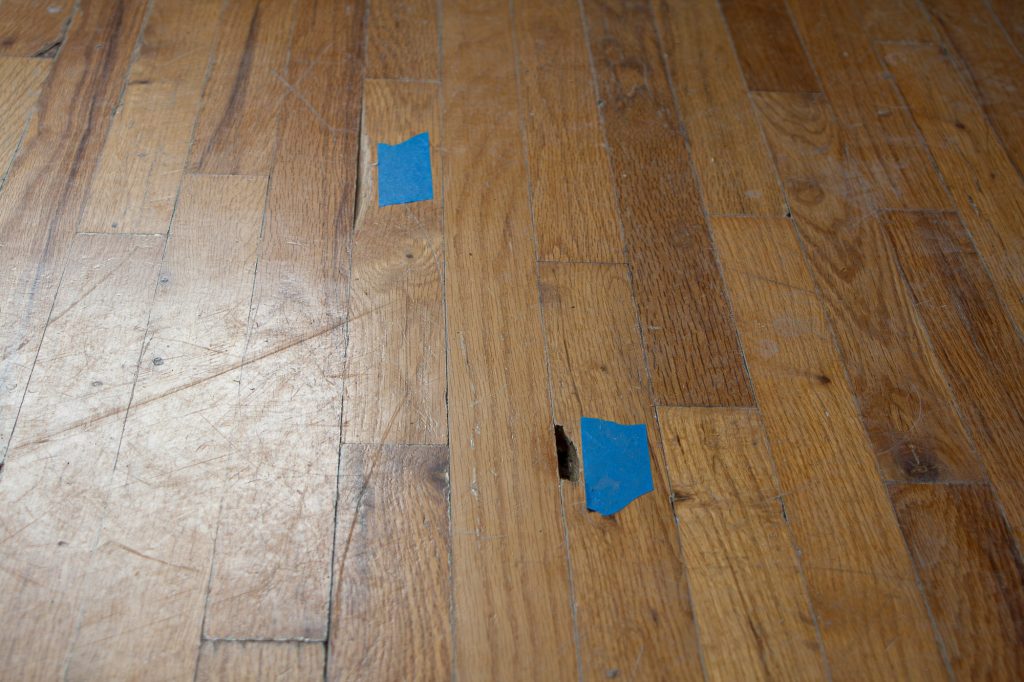
Luckily, red oak tends to take repairs more seamlessly than other species. The color of the wood doesn’t change substantially with age, and with a floor that has this much variation between boards, there is no color that needs to be closely matched. The only difficulty is in removing an individual board that is interlocked on all sides and nailed down, and installing a new one that is just as solidly held in place. There are a few ways to do this, the details of which I’ll leave for a future post. This floor only needed to have five damaged boards replaced, the rest of the problems were fixable with glue and wood putty.
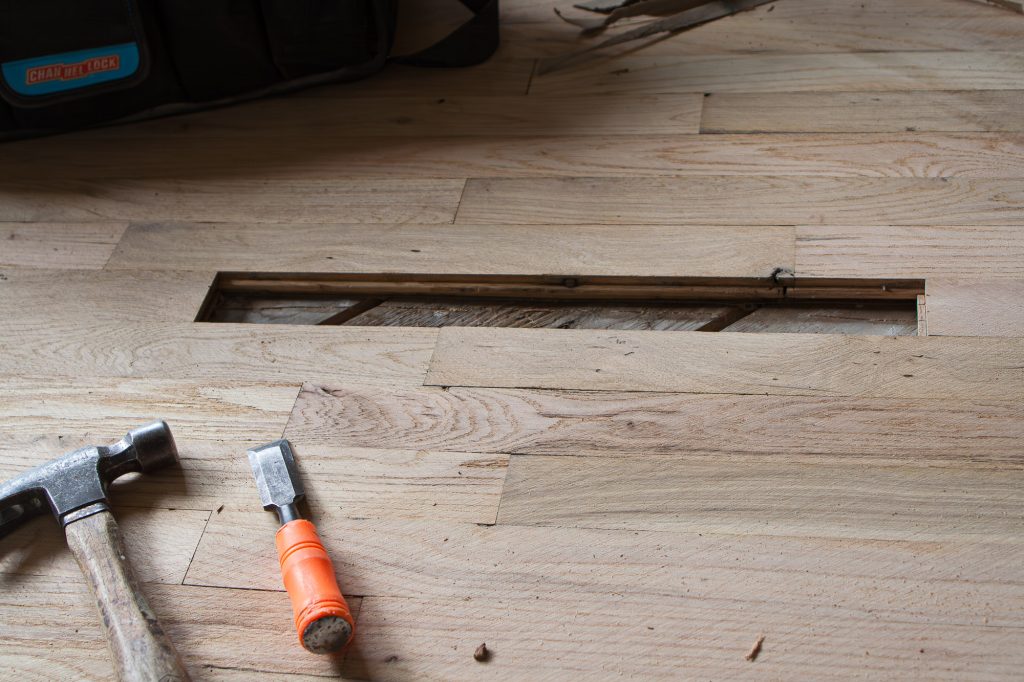
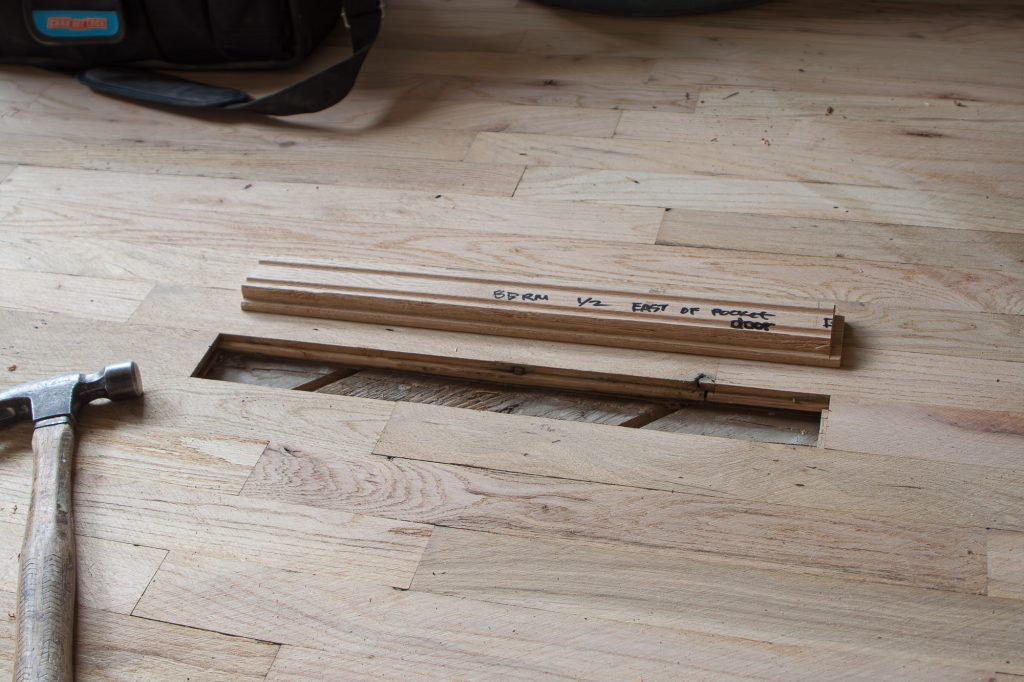
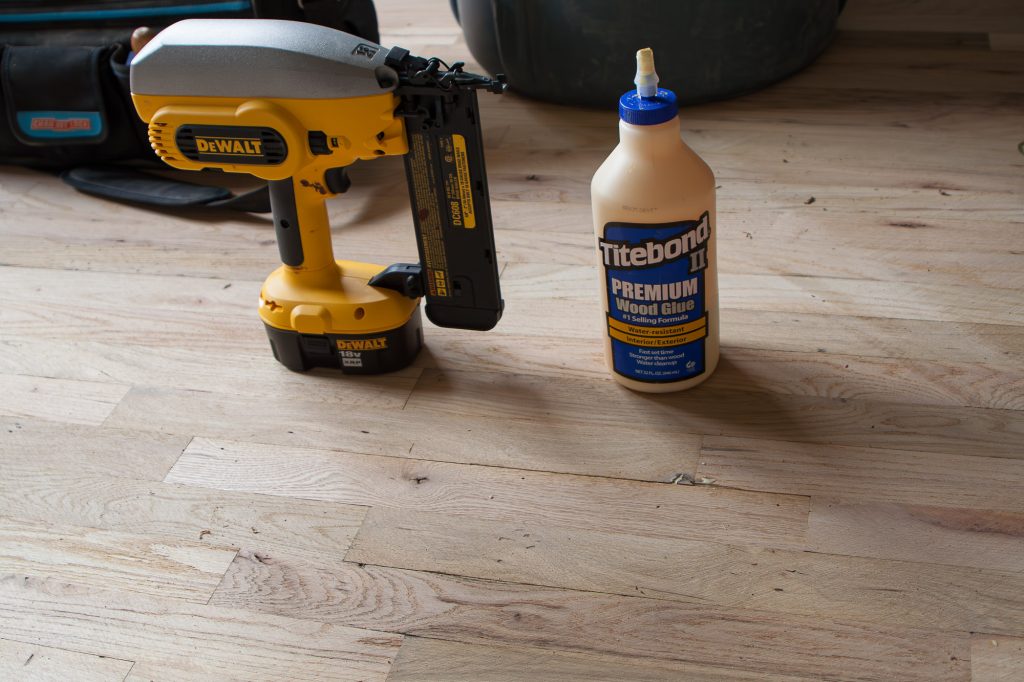
The floor required some fairly aggressive sanding to remove all of the scratches and gouges, and to flatten it back out. The boards had buckled slightly, either from poor acclimation before installation, or just swings in temperature and humidity over the years. It came out fairly clean in the end though.
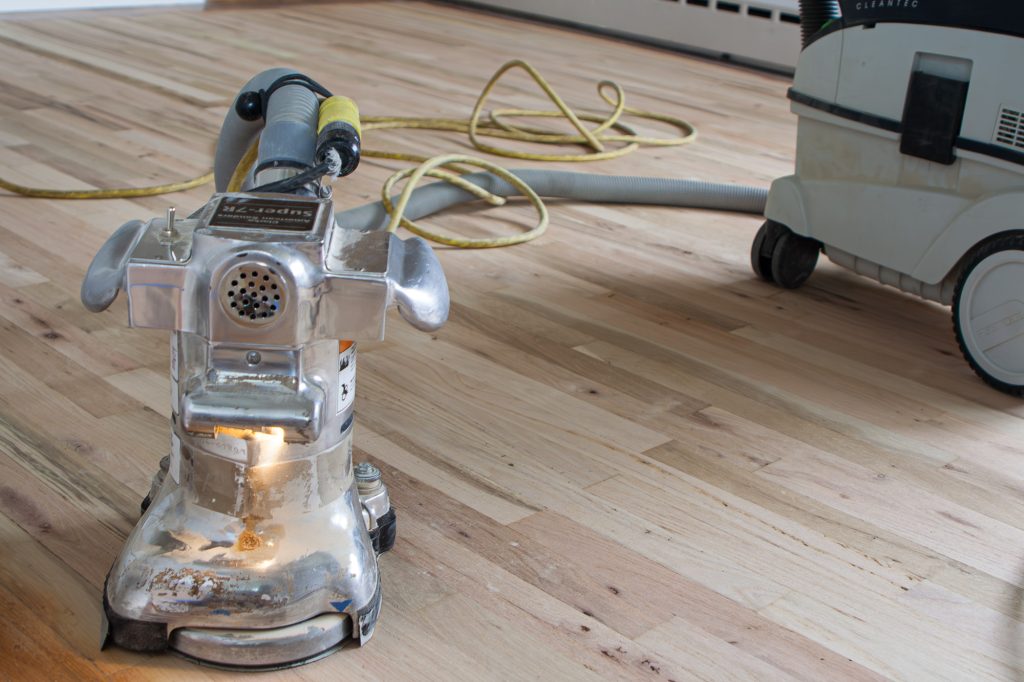
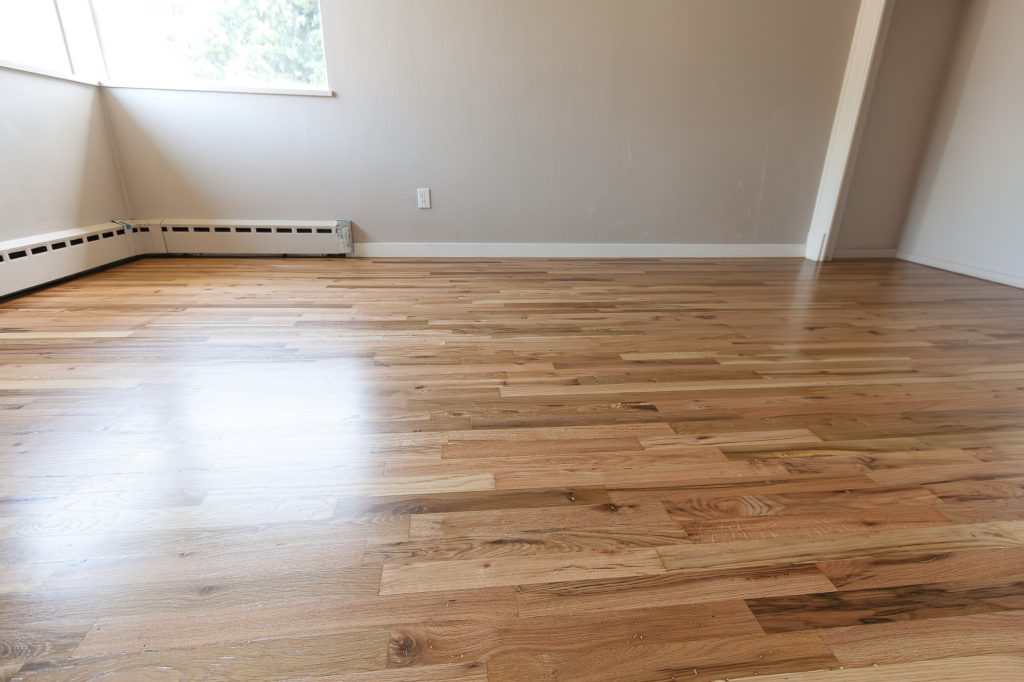
After all of the sanding, repairs, sanding, trowel filling the gaps, and more sanding, it was finally ready for finish. I prefer to work with water-based finishes due to superior durability and lack of noxious fumes, among other reasons, but it is especially good for apartments. It doesn’t have strong smells that permeate the hallways and other units, and it fully cures more quickly (days instead of weeks), so the unit can be safely shown and moved into sooner. I sealed the floor with Bona IntenseSeal which brings the rich appearance of oil based finishes, then coated it with two layers of Bona Mega clear satin.

Aside from looking much better and being a more vibrant background for the rest of the space, there are also functional benefits. The cracked and flaking boards could catch socks or leave splinters in feet, but now the whole floor is a flat and smooth surface. The numerous gaps and holes that were in the floor collect dust and dirt and made it more difficult to keep clean. Now the floor can be easily and quickly cleaned with a dry dust mop. Whoever the next residents are, they’ll have a beautiful base to build the rest of their home on top of.


